How to create a template using FreshMail Designer
Back to list of guides
1
Chapter
What exactly is FreshMail Designer?
Chapter
Video tutorials
Great for easily start with FreshMail Designer.
What is Freshmail Designer?
FreshMail Designer is an intuitive editor which allows you to create email marketing templates for your campaigns. FreshMail designer makes it easy to create professional newsletter templates even if you don’t have a background in graphics or experience in IT.
FreshMail Designer - what does it do for me?
First of all, it gives you access to the template library, full of ready-to-use templates created by the best designers. They are available for you to use for free in different functional layouts, ready for you to edit and change as you wish.
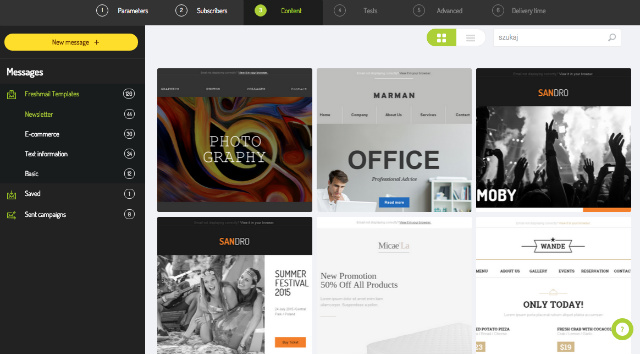
In addition, FreshMail Designer helps you to edit and redesign existing templates by adding text, graphics or icons from a full list of options. If you want, you can build your own original templates from scratch. Everything uses the drag & drop method which works like making your campaign from building blocks.
Moreover, you can edit images used in the campaign without any complicated graphic programs.With very little effort you can crop, resize, add subtitles or other elements to your design. Just one move is required to make the change you want.
Where can you find FreshMail Designer?
Moving to the third step of the campaign creation process, you can import your template from the previous version of FreshMail or make a new one using the FreshMail Designer tool and elements available in the template library. Alternatively, you can use a template from a campaign that has been already sent. These options are available in the menu on the left: FreshMail templates, Your templates, Campaigns.
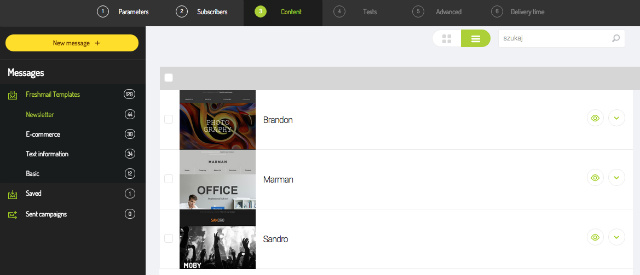
In the library you can find dozens of templates, and don’t forget that we’re always adding more. Just looking through them will give you ideas and inspiration for your own project.
By clicking on a chosen template you be taken to the FreshMail Designer to start the adventure of a creating and launching your own campaign.
2
Chapter
What can the FreshMail Designer do?
Chapter
FreshMail Designer lets you build an entire template using simple drag & drop blocks - graphic fields that you can arrange to fit your design and styles. You can choose one, two or three column elements. Specific blocks correlate to different types of content. To give you an example, you can pickblocks for text or picture elements or a button. There are also more complex blocks consisting of various combinations of these.
The menu on the left hand side enables you to manage the whole campaign process.
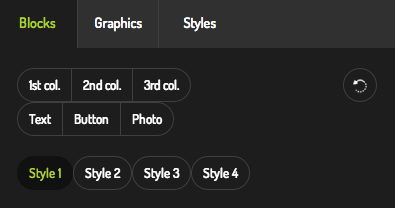
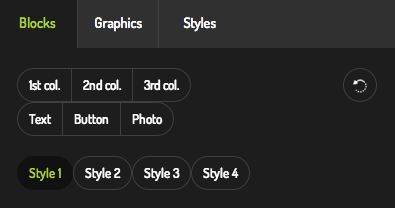
There are three sections available: blocks, graphics and styles.
All the sections above will be described in detail over the next few chapters, for now we will focus on three basic terms:
- blocks – this section enables you to build the perfect template just by using simple blocks
- graphics – you can use our rapidly growing library absolutely free and add items to your pictures
- styles – these allow you to set styles used in the creation and change the settings of, for example, the width of the message or the type of background used
Just try it out yourself and see how simple it is to select, place and edit all the elements of a great design!
3
Chapter
How to build a template
Chapter
Templates are made up of blocks in the same way that a wall is made up of bricks. In FreshMail designer, you can choose from among different types of blocks, each designed to hold different elements - text, pictures, buttons, social media icons, spaces, finishings, dividing lines or a combination of some or all of them. There is no limit to the designs and combinations you can use to make just the right template for you and the drag & drop method makes managing the blocks easy!
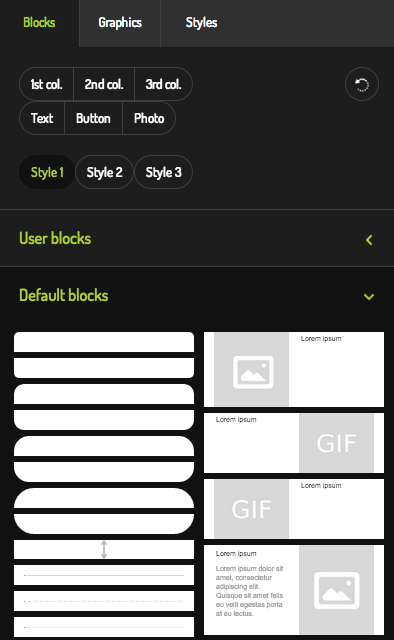
Every template offers a choice of block styles and by clicking on them you can see how their color changes. Each style is picked carefully to match the whole design so that the font and background fit together in every possible combination.
To add a block simply drag and drop the chosen element to the template on the right hand side of the screen. Whereas by navigating on the plus icon placed next to the ‘sprocket’ icon you can easily move the blocks.

Thanks to this you are able to reconstruct a pre-formed template or create it from scratch. Deleting or duplicating original blocks is possible by navigating on the ‘sprocket’ icon and using the left mouse button. You can also change the background, add margins or edit the entire style (depending on the chosen template).
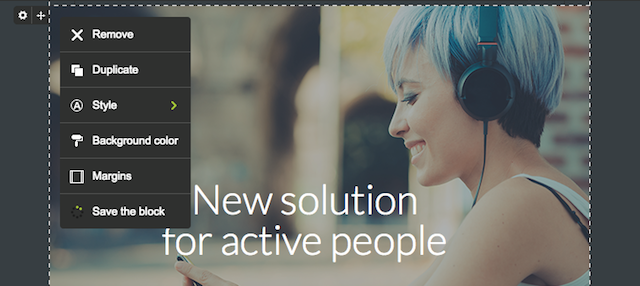
If you want to create more space in between blocks you can add special empty blocks. These units aren’t designed to be filled with text or graphics, they simply help to formatFormat HTML + TXTWiadomość, która zawiera format HTML i TXT. Programy pocztowe, które nie będą mogły odtworzyć wiadomości w formacie HTML, wyświetlą ją w formacie TXT. Należy pamiętać, że wyświetlenie wiadomości w formacie TXT uniemożliwi zraportowanie jej w kontekście otwarć. your design.
You can change the size of certain cells in a block by dragging the lower edge and shaping the elements as needed. You can also copy the block if you would like to use it once again some other time.
You can save your favorite personalised templates in the Library so that next time you use Designer you can just edit the same newsletter you created before.
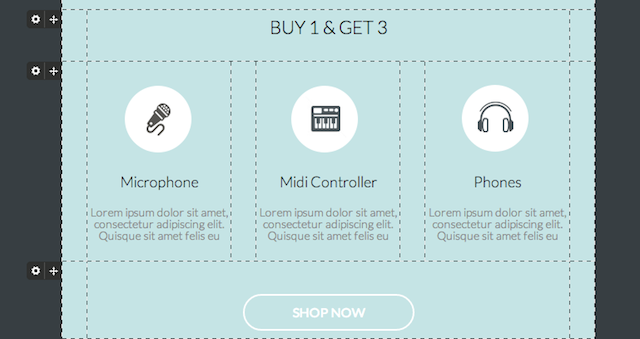
When adding various blocks to your message, remember that you should pay attention to how they fit in the larger design. Consistency and the proper use of space in the template are part of a professional appearance.
4
Chapter
Text blocks
Chapter
Images play a huge part in email marketing campaigns but ultimately the text used in an email is more important from the user’s perspective. Never ignore the importance of good copywriting.
Text styles
Every template has at least two different text block styles. You can customize everything in the blocks section, where you can choose the size of font, its type, and color. The elements in each style have been carefully designed to fit together in different combinations.
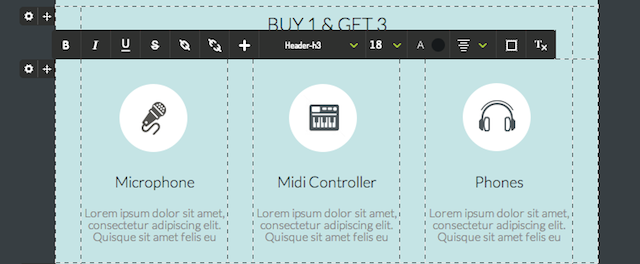
Simple ways to use text formatting in email
If you want to change the text formatting in a template you can just simply use the text editing menu. Basic tools are usually enough to create the desired effect. Using them you can change the font size, alignment or header style. Remember that people rarely read the whole message - instead they usually they just scan the message and that is why it is important to highlight sub headers with a predefined header style. If you want to draw attention to something, don’t be afraid to use bold or a colorful font as well. You can also align text both horizontally and vertically.
You also have the option to adjust the margins, which can be very useful when it comes to adding more space. (this function will be described more detail later).
Use hyperlinks
In the basic tools section you can add hyperlinks to a selected word. You can add a link to website, an email address, a special link to preview the email in a browser or even to unsubscribe from the list.
Advanced tools
The basic tools section contains everything you need to create a template but you further edit the content of a cell by using the toolbar that appears when you click on it.
You can use them to:
- change edges
- change the background
- change the color, type and width of borders
- round corners
You can also use the “Insert” button to:
- implement personalisation
- insert system hyperlinks
- add social network sharing buttons
- add symbols
- add attachments
For the most part, the basic tools shouldn’t be used to change the existing template too much – everything is already prepared for you. If you don’t feel proficient enough at the email template designing process, you should probably spend some more time experimenting with the extra options before using them.
5
Chapter
Image blocks
Chapter
One picture can often say more than a thousand words, especially in email marketing. Nowadays people don’t really read emails, they just scan text in the hunt for something interesting. That’s why it is vital to catch the reader’s attention instantly. Images are helpful as they will help to make your template look original and eye-catching.
The FreshMail Designer system offers everything you need to design an image that will grab the attention of your subscribers.
How to add images
To add your own image to your template, just double-click the chosen block in the spot where you want to place the image.

If you click on the image an additional menu will appear. Here you can adjust, crop or move the image as you like.
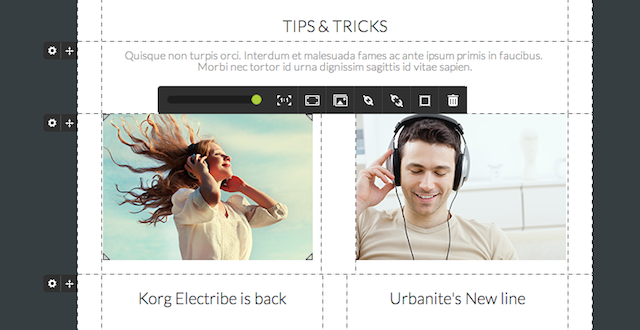
The editing toolbar helps you to scale the image (resize it), restore the size of the image, as well as adjust its size to the width of the block, insert an image, add and delete hyperlinks, use filling options (change the border color, its type and width and round-off edges of an image), or delete the image.
Note that every icon in the editing toolbar has its own description which will pop up at the top.
Remember to add links
Your subscribers will click on images you use in your email marketing campaign. To be more effective, add a landing pageLanding pageInaczej "jump page" strona docelowa. Jest to strona, na którą użytkownik jest bezpośrednio kierowany po kliknięciu w link sponsorowany, czy kreację reklamową. link to every single image you insert to your template.
6
Chapter
Button blocks
Chapter
By now your template has taken shape and the text and graphics are all in place but you’re still missing something. It’s time to create a “call to actionCall to action"Wezwanie do działania", metoda wskazania potencjalnemu klientowi co powinien teraz wykonać na stronie internetowej, landing page. Najczęściej przyjmuje wygląd graficznego przycisku.” button.
Choose where to click
A call to action button’s role is to convince your subscribers to click in a certain place which directs them to a personalised landing pageLanding pageInaczej "jump page" strona docelowa. Jest to strona, na którą użytkownik jest bezpośrednio kierowany po kliknięciu w link sponsorowany, czy kreację reklamową. with a product in your online shop. To simplify the whole process in FreshMail Designer you can find blocks of buttons in different visual combinations.
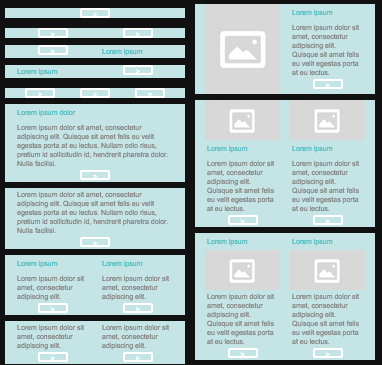
There is another reason to use these buttons – they are coded in a way that they appear in the message even if the images are not downloaded.
How to edit buttons
All buttons are editable. You have a choice of using the editing toolbar in the basic or more advanced version.
By clicking on the button, the editing panel will show you what you can change:
- the size of the button
- the type, size and color of font used
- use of bold, italic and underline
- links to be added
- the color of the button and the text visible on it
- its vertical and horizontal alignment
- the type, color and size of the frame
- rounded-off corners
![]()
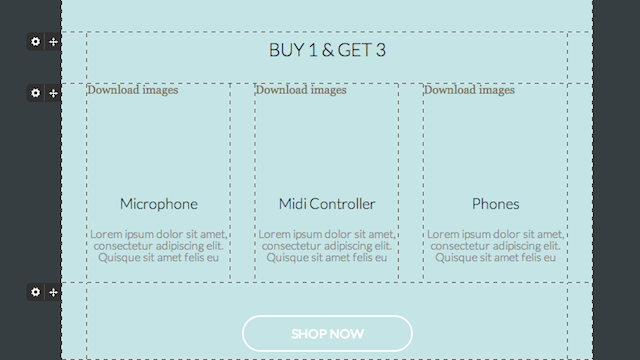
After finishing, it is worth checking what your design looks like before and after downloading images.
This is what the email will look like before downloading images…
...and after downloading images.
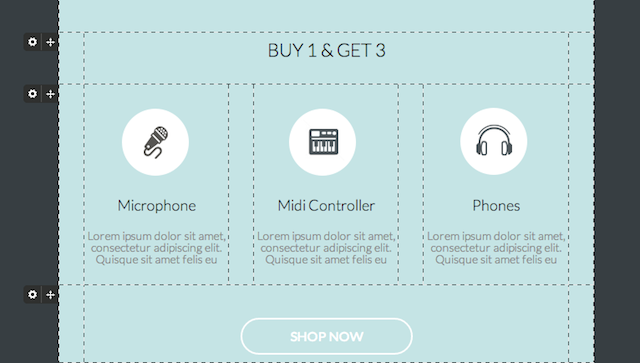
As you can see it doesn’t matter if an email service provider blocks images or not, the button will be still visible and the customer will still know where to click.
7
Chapter
Social Media button blocks
Chapter
We all know that email marketing can be successfully integrated with social media. FreshMail Designer helps you to connect them with your email campaigns.
FreshMail Designer features special buttons directing you to social media services such as Facebook, Twitter etc.
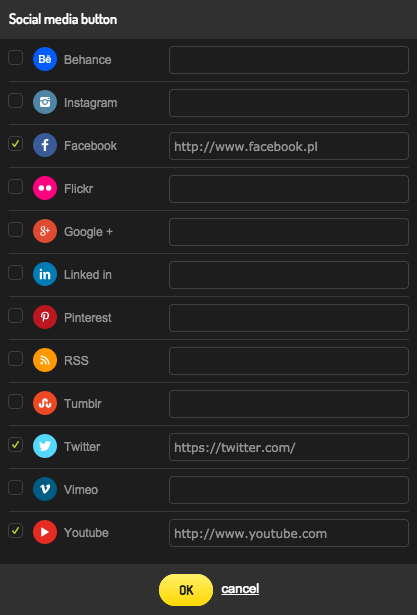
In order to insert them into your newsletter, you add the block to your template and double-click. Then you select the buttons you want to insert and add links to your company profiles.
You can also alter the style of these elements so they fit well the rest of the template. Don’t forget that you can choose between 4 different sizes for your social media icons.
8
Chapter
Final touches
Chapter
In FreshMail Designer, working on a graphic version of your template rather than one in HTMLFormat HTML + TXTWiadomość, która zawiera format HTML i TXT. Programy pocztowe, które nie będą mogły odtworzyć wiadomości w formacie HTML, wyświetlą ją w formacie TXT. Należy pamiętać, że wyświetlenie wiadomości w formacie TXT uniemożliwi zraportowanie jej w kontekście otwarć. code allows you to see it instantly. FreshMail Designer allows you to see the tables, grids and template boundaries as well as the final version that will be seen by your recipients.
You have the option to preview how your email will look in popular email services. By simply clicking on ‘Layout’ in the top right corner, you can switch ‘guide lines’ on and off. This useful function lets you see what the template looks in the email inbox while you are working on it.
![]()
We recommend that while working on the layout of template (while dragging and dropping blocks and elements) you should switch the lines on, however while editing the text you should switch them off.
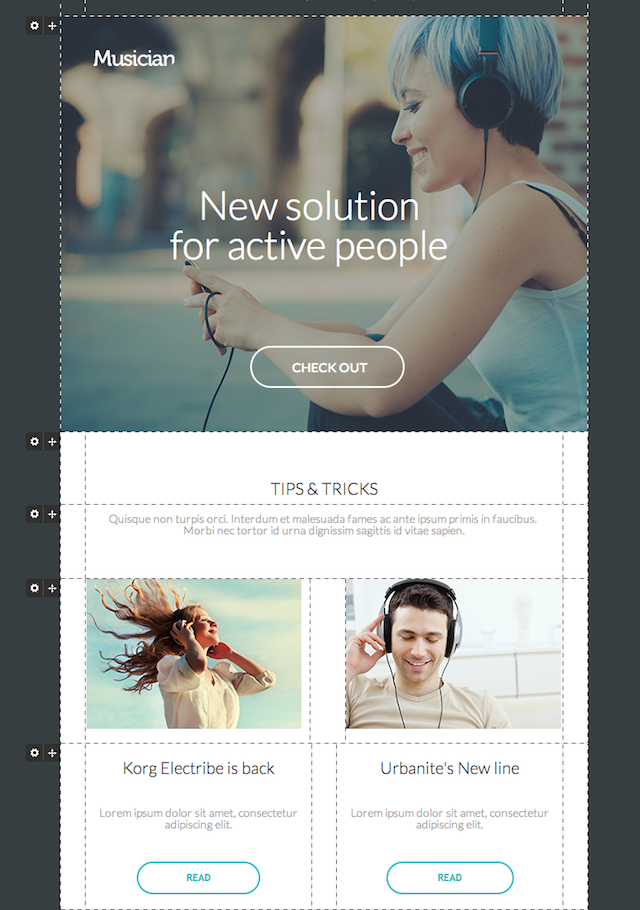
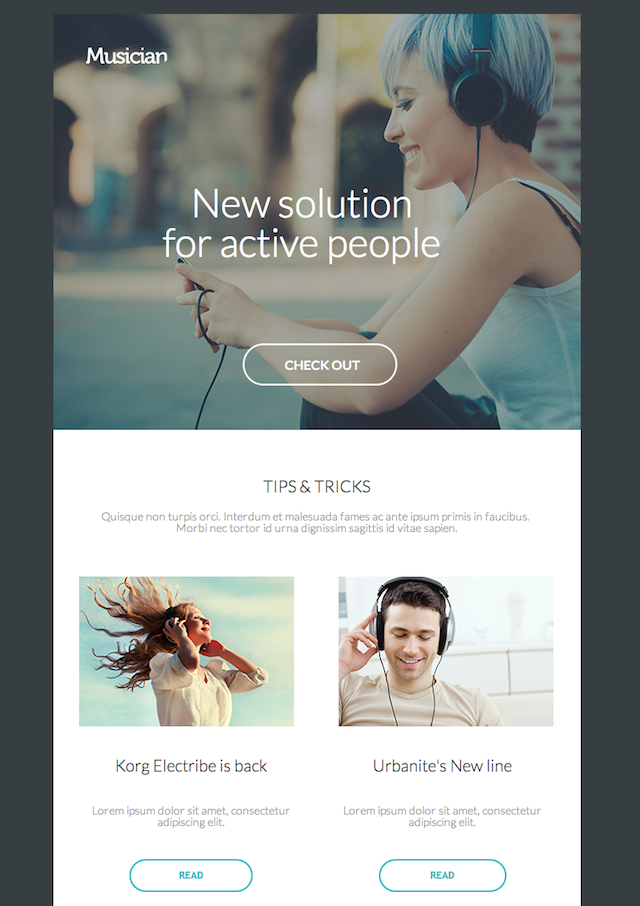
Switching between those two versions you can easily work on a template and check the final effect of your work.
9
Chapter
Adding graphics
Chapter
FreshMail Designer allows you to create your own graphic composition. Let’s say you’ve inserted images of your products but you would like to add some extra text superimposed on top of them. All you have to do is drag a textbox from the side menu and edit it on your images.
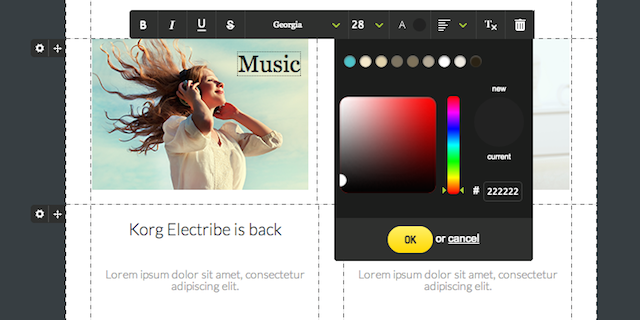
You can also use different fonts, change their style or size so they fit the rest of the template.
Another handy option is the possibility to use stock images from our library. The choice is vast – hundreds of graphics can be selected to make your message more attractive or just give it that little something extra. For example, if you are preparing for an upcoming sale, you can just drag an image of your product to the template and add a graphic like one of these:
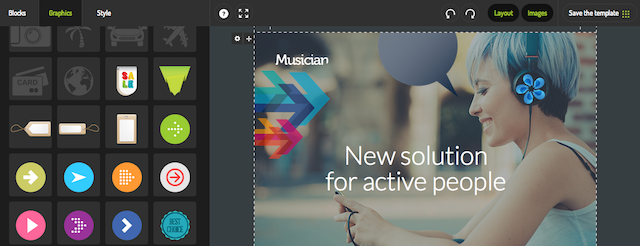
The composition of graphics is very important. Using the arrows keys on your keyboard you can move every single element by just one pixel. If you hold the shift key as well the element will move by 10 pixels.
Each element can be resized and turned around using the additional sliders. You can also change the transparency of a given image.
![]()
You can also upload your own graphic to the system and then paste it onto an image in your template.
10
Chapter
Changing template styles
Chapter
The styles editor is available in the ‘Style’ tab on the left hand side of the screen. It lets you easily control the layout of all the blocks in the template. Each block has a style variant assigned to it that you can select while creating a block or by clicking on the ‘sprocket’ with options of each block. This is where you can change the ‘global’ formatting for each variant.
What can I change?
In each style variant you can change several elements of your template:
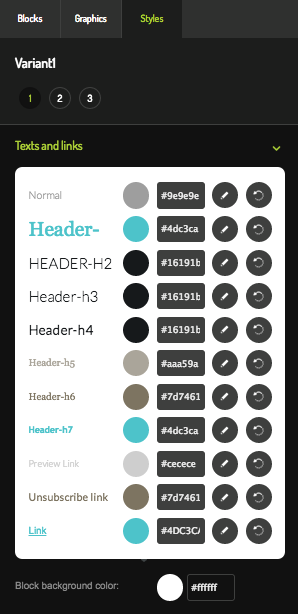
Text and links - after clicking the edit button you can change the font of each style of text formatting and also define the spacing between rows and letters. You can also define the layout of links and change the default color of the background of the block in the edited variant.
You can change the font type of a given text by using the style editor. Just click on the pencil icon in the selected style and then change the font. Remember that this change will apply to all text in the style variant, not just in one block.
Buttons - edit everything about them: font, button color, rounded corners, framing and internal margins.

Background - see the next section
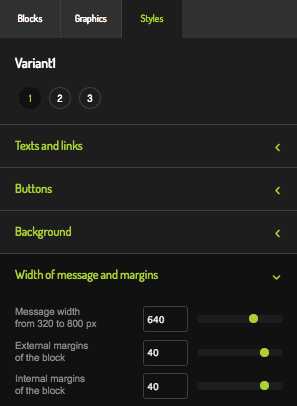
Width of message and margins - you can set up the width of the whole message and the internal and external margins of the blocks. Recommended width is 640px. It ensures that the message will be displayed perfectly in most inboxes. Defining margins makes it easy to design a project to fit the technical demands of devices where your message will be displayed.
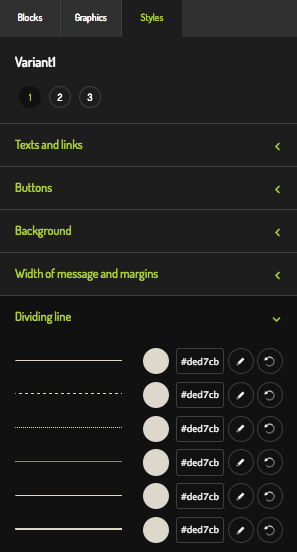
Dividing lines - in here you can define the layout of special blocks which contain a dividing line (you can change its width and alignment)
Applying a background to your template
When you have finished creating your template you can make it even more attractive by applying a background using FreshMail Designer. To add a background around the outer edge of your template just go to the ‘settings’ and apply a ‘wallpaper’ of your choice.
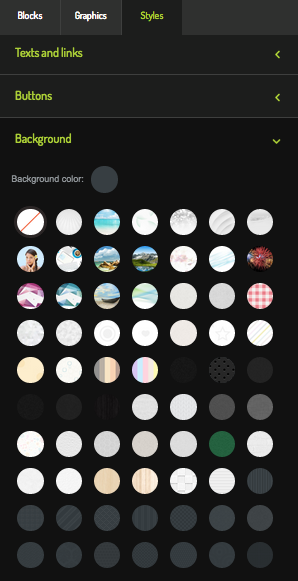
Types of wallpapers:
- with the image at the top – the image appears at the top of message while the rest of background is just shaded in a matching tone
- with a duplicated theme – the system duplicates a certain theme vertically and horizontally until your template is filled
- with a texture - by choosing a structure and then a color you can build the background which meets your expectations
Our experience tells us that Outlook can cause problems with displaying the first type of background described above. It sometimes happens that the top image might not be shown to people who use Outlook.
12
Chapter
ALT’s – the text under the picture
Chapter
Most email services providers block images automatically. For this reason to improve your campaign’s effectiveness you should prepare a concise text that displays when your clients open a message – before the images can be downloaded. Those texts are called ALT’s – alternative texts.
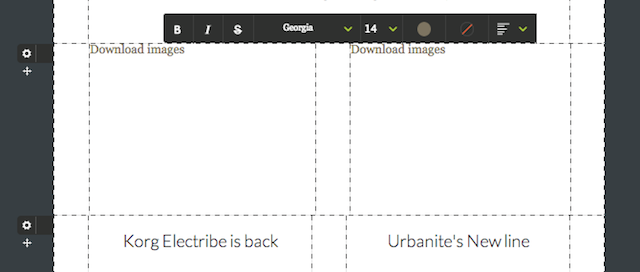
The text of message prepared this way should directly refer to an offer you want to present or should interest your clients enough to make them download your images.
Editing ALT texts
To edit ALT text you need to click on the ‘Images’ button on the right hand side. It will turn off’ all the images in your template so that you can see how the message looks before downloading images.
This text can be formatted easily by adjusting its font style and size as well. It is worth checking how to add the background for the cell or block under an image so that it grabs the reader’s attention immediately.
13
Chapter
Responsive templates
Chapter
Every template you make in FreshMail Designer has responsive properties. This means that the device that the subscriber is using to read the message determines how it will be displayed. Responsive technology lets us be sure that emails will are properly displayed at different resolutions on a variety of computer and mobile device screens.
What you should know when creating responsive messages
Achieving the desired results depends on the proper construction of the template along with following a rules. Remember that more than anything else, responsiveness depends on using a single-column construction for smaller devices. Here are a few other things to bear in mind when making a responsive template:
What is the breakthrough point?
The moment when the template switches to a single column formatFormat HTML + TXTWiadomość, która zawiera format HTML i TXT. Programy pocztowe, które nie będą mogły odtworzyć wiadomości w formacie HTML, wyświetlą ją w formacie TXT. Należy pamiętać, że wyświetlenie wiadomości w formacie TXT uniemożliwi zraportowanie jej w kontekście otwarć.. It happens at a width of 480px. For larger or smaller widths, the message is scaled proportionately.
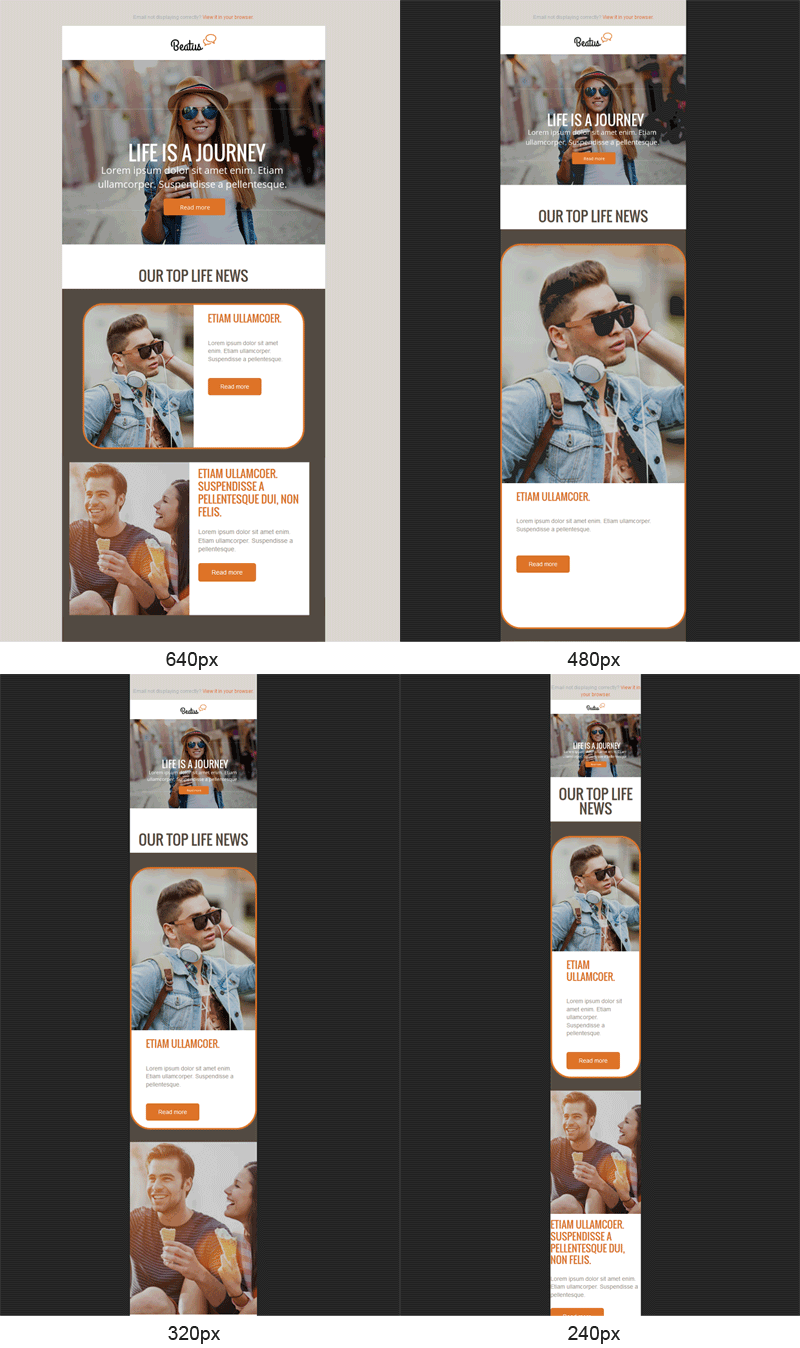
How does the template break through?
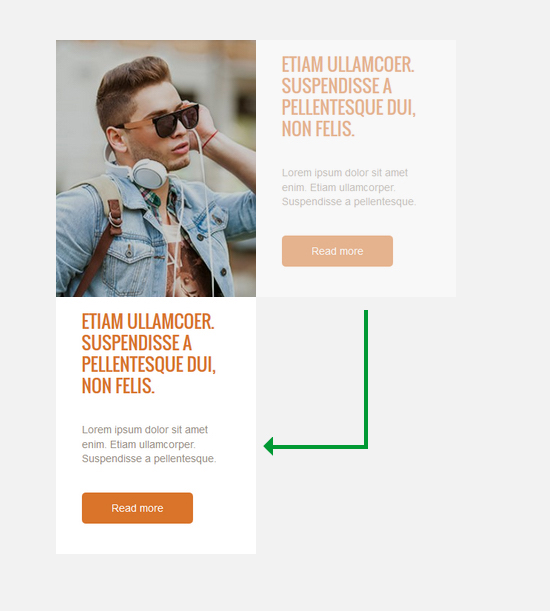
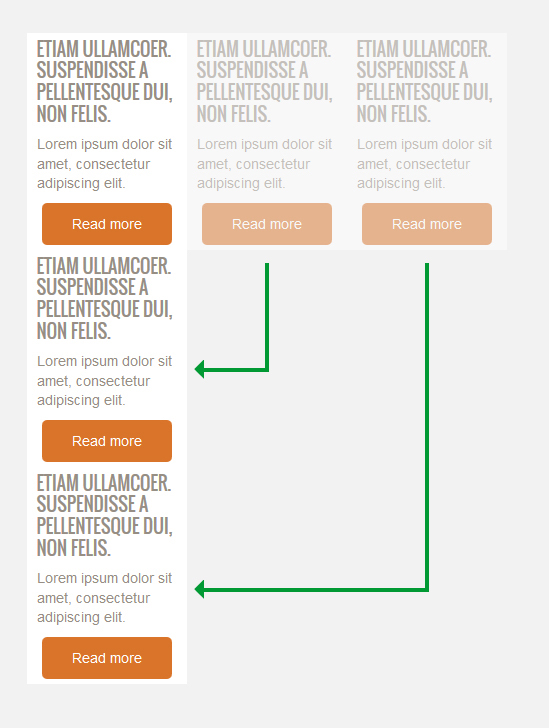
The template always breaks at the edge of particular blocks:
- single-cell blocks -> they simply become more narrow
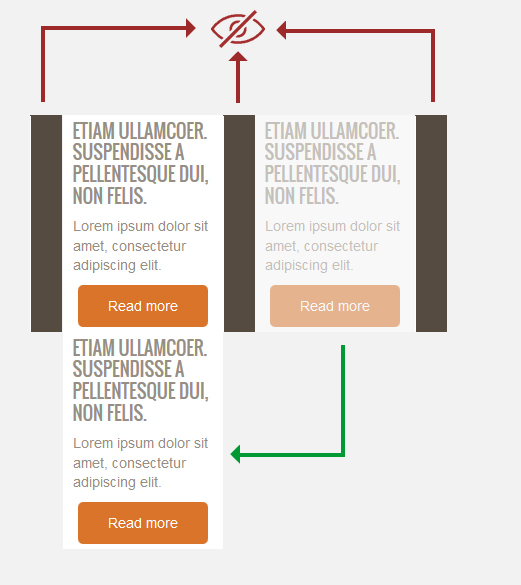
- double-cell blocks -> the right block falls below the left block
- triple-cell blocks -> the center block falls below the left and the right block falls to the bottom
What happens to the parts that disappear?
Empty cells functioning as internal or external margins are hidden by widths of less than 480px.
How does content behave?
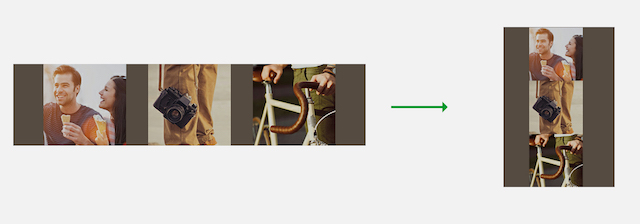
Content placed in columns side by side after break through are moved down.

How do graphics behave?
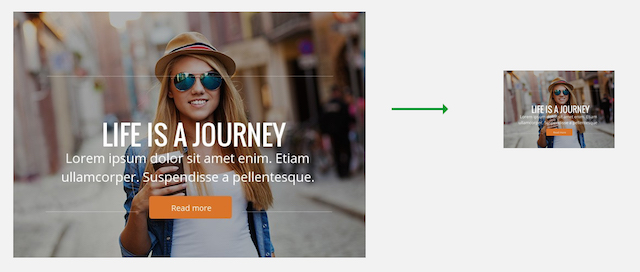
All graphics adapt to the width of the screen. To avoid losing visual quality:
- graphics less than 200px in width are centered,
- graphics larger than 200px are stretched to fit the width of the cell.
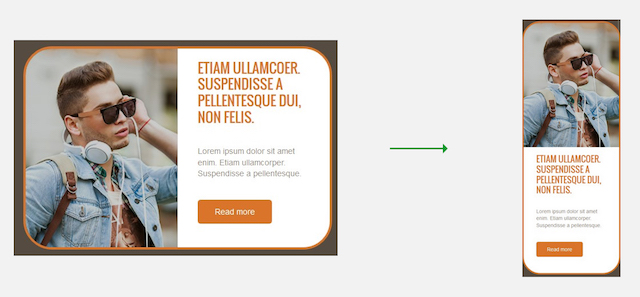
What happens to frames and rounded corners?
FreshMail Designer adjusts the parameters of rounding in such a way that even two cells connected to the frame will display correctly in responsive mode.
What happens to spaces?
The email is adapted to the entire width of the screen, so content not provided with internal model margins may appear right on the edge. This is why it is better to use the inner margins.


Added responsiveness to a template
Non-responsive templates created in FreshMail Designer can be recreated with responsive properties by importing the template into the editor and saving it as a new template. The code of the template will be changed automatically.


