How to Use the Form Creator
Back to list of guides
1
Chapter
What is the Form Creator and where do you find it?
Chapter
What is the Form Creator?
The Form Creator is an intuitive editor for creating effective and attractive sign-up forms for newsletters and address databases that can be easily placed on your site.
Where can I find the Form Creator?
Log in to FreshMail and select Library --> Forms from the main menu.
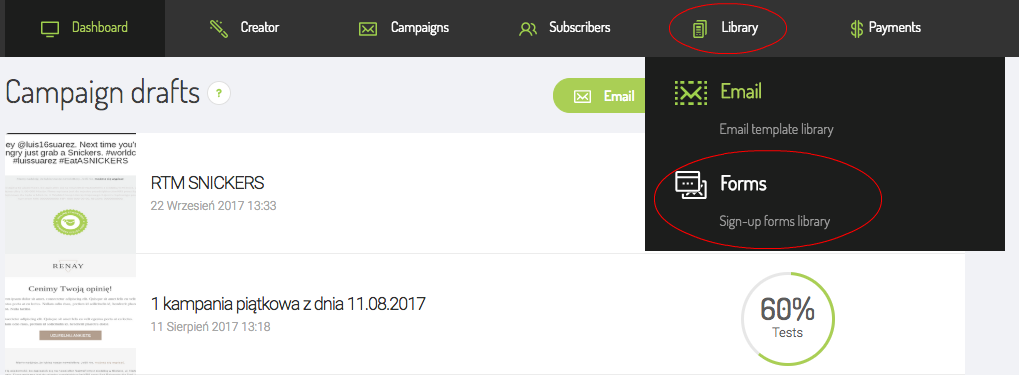
Next you will see the library of ready sign-up forms, which you can edit and use on your website. Of course you can create a new one as well.
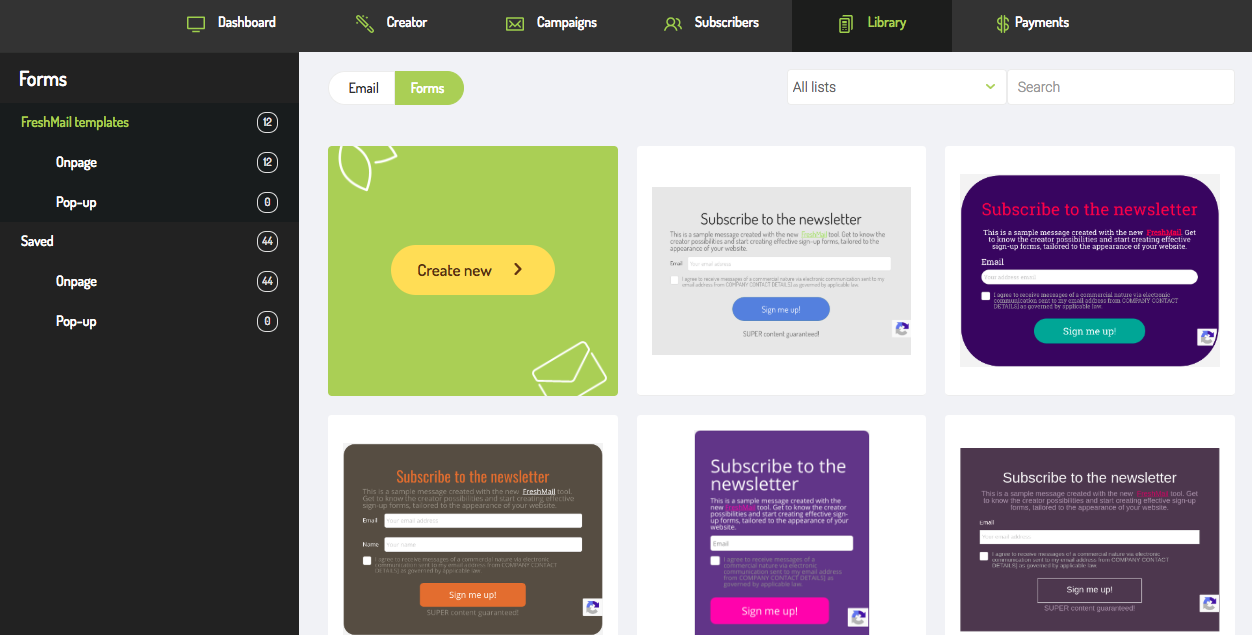
After cdeciding if you want to create new form or select ready template, the next step is to choose the subscribers list. After that you will see the Form Creator.
2
Chapter
Menu and appearance of form
Chapter
Menu
The main menu is home to two tabs connected with creating a sign-up form: Settings and Layout, along with two buttons that allow you to save the form and place on a web page.
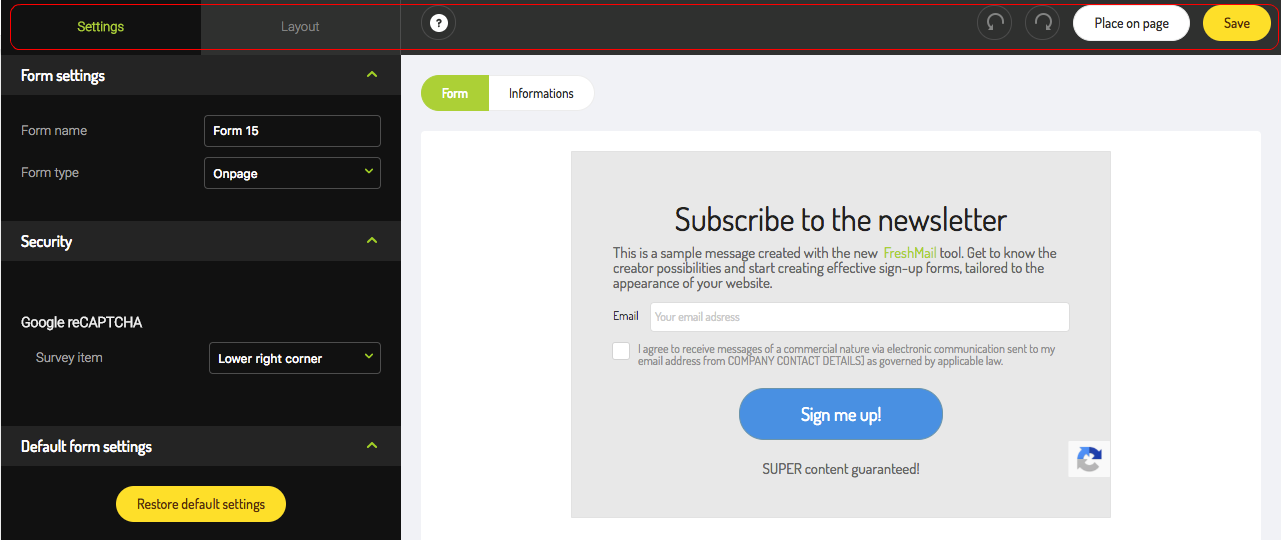
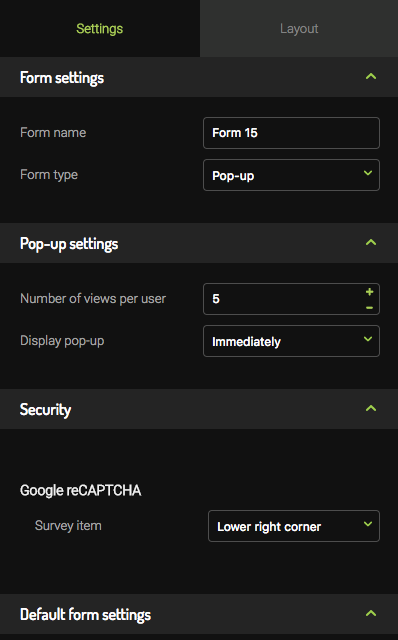
Settings Tab
This is where you can name your form and choose its type: onpage or pop-up.
The next function is control over the settings for reCAPTCHA verification, which can be placed in selected locations on the form or disabled altogether.
This is where you will also find the option to revert to the default settings, which also restores the default appearance of the Creator.
If chosen to display the form as a pop-up, you have additional option, which let you select a number of views per user and when to display it: immediately or after specified time.
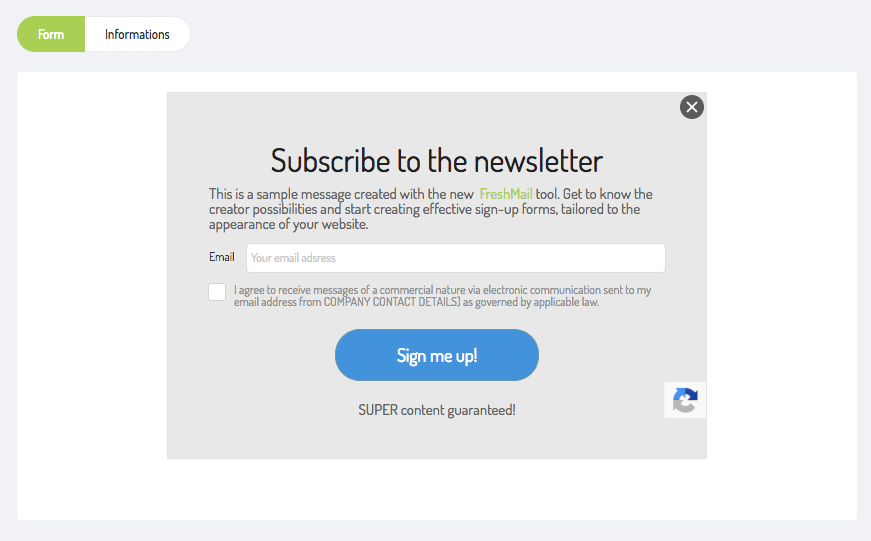
Appearance of the form
You can always see how the form you are designing will look and changes, edits and additions are made in real time, both in the Appearance and Settings tabs.
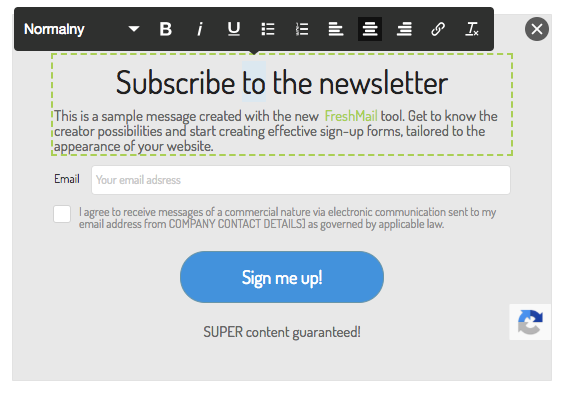
You can formatFormat HTML + TXTWiadomość, która zawiera format HTML i TXT. Programy pocztowe, które nie będą mogły odtworzyć wiadomości w formacie HTML, wyświetlą ją w formacie TXT. Należy pamiętać, że wyświetlenie wiadomości w formacie TXT uniemożliwi zraportowanie jej w kontekście otwarć. or edit texts in the Creator as well. The editing tab offers these options:
- Text style (headers or paragraphs)
- Bold, Italics, Underline
- Bullet points or numbering
- Text positioning (aligned left, centred, aligned right)
- Text links
- Format resetting
3
Chapter
Form fields
Chapter
The first section on the Appearance tab is Form Fields. This is where you set what information you want to collect from new subscribers. The one filed you always want to use, no matter what, is email address. Everything beyond that is up to you but we recommend not asking for too much information. Our experience tells us that using more than four fields will trigger a major drop in the number of new subscribers who will successfully complete the form.
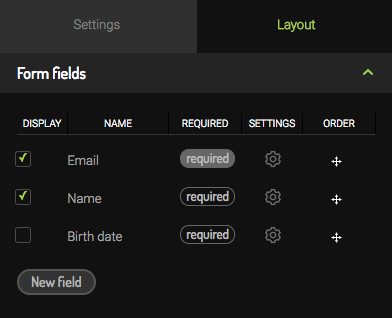
You can decide what, if any fields, will be displayed apart from the one for Email as well as which are required to complete registration. In addition, under the SETTINGS column is an icon. Clicking it opens a window with the field name, type (text or checkbox) and the default text (visible in the field before entering the data by the subscriber). You cal also put fields in order. Just click the icon in the ORDER column and drag it to the desired place.
Field Styles is another section which lets you customise the appearance of the fields to be completed. First, select how they are arranged in the form - as a list (one after another) or in columns (one next to another).
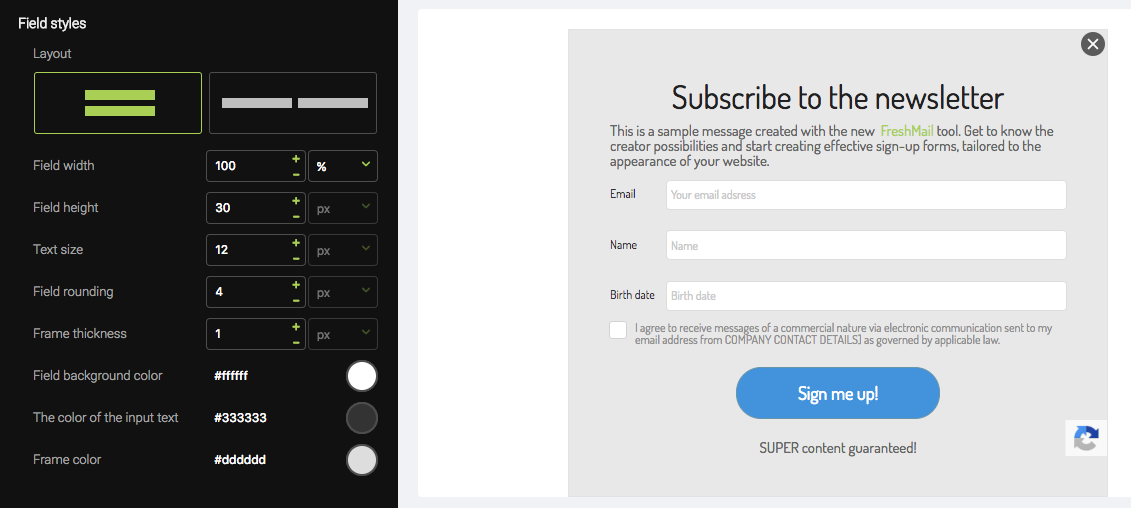
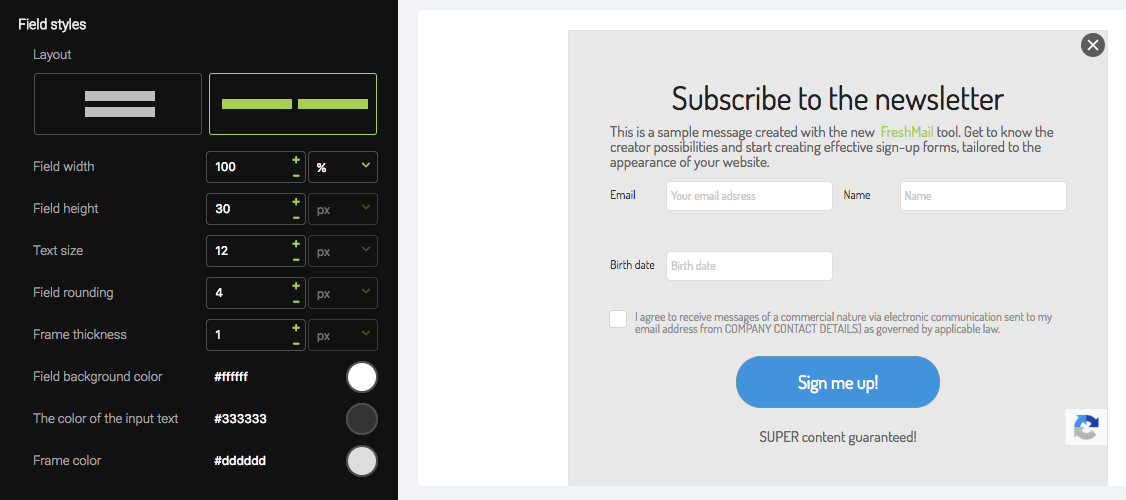
As you can see, the next option lets you set the width and height of the fields, their color any visible text, rounding, frame thickness.
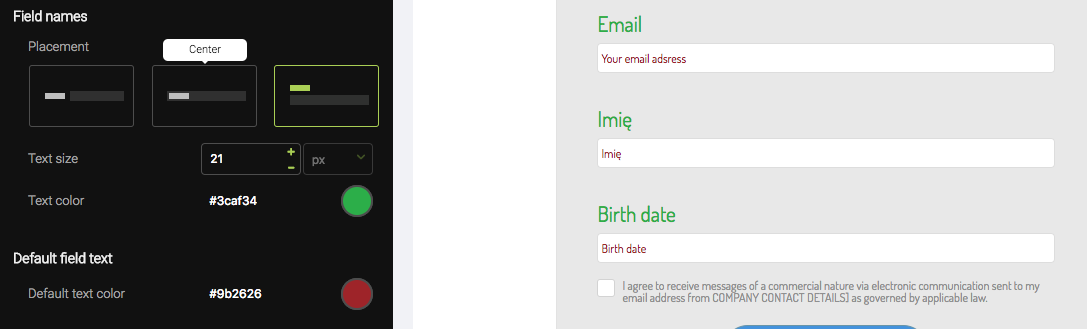
Next you can edit appearance of field names displayed on the form (placement, text color and text size).
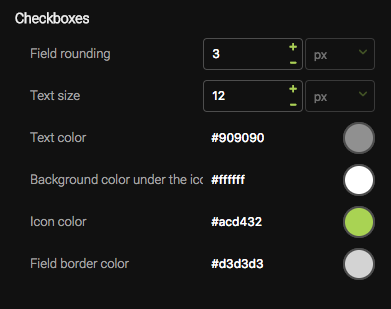
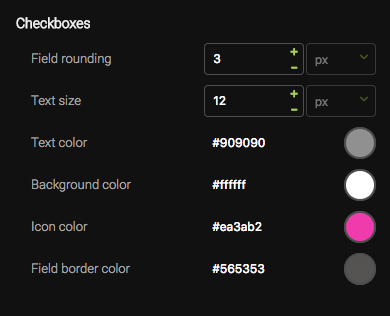
You have also plenty of options to edit checkboxes layout. You can set their rounding, text size and color, color of background, icon and field border.
4
Chapter
Form appearance
Chapter
Everything here is related to the appearance of your form - the size, colour, framing, shape and margins (distance between the text and the edge of the form).
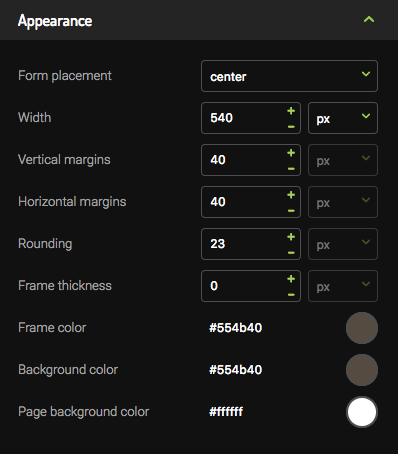
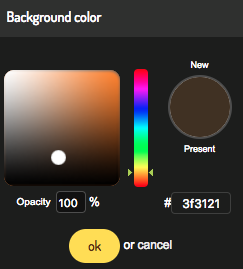
You can also set the placement of the form on the page - centred, aligned left or right. Another option allows you to select the width of the form as measured in pixels or in percentage terms. This is also where you choose the colour of the background by selecting a colour code or by clicking on the palette.
![]()
The next element you can adjust is the color of the frame, which is edited in the same way. The frame thickness can also be set here.
There is an interesting option of using rounded edges on your frame, which can be a classic rectangle or more oval-shaped.
Finally, you can set the thickness of the horizontal and vertical margins and arrange clickable buttons.
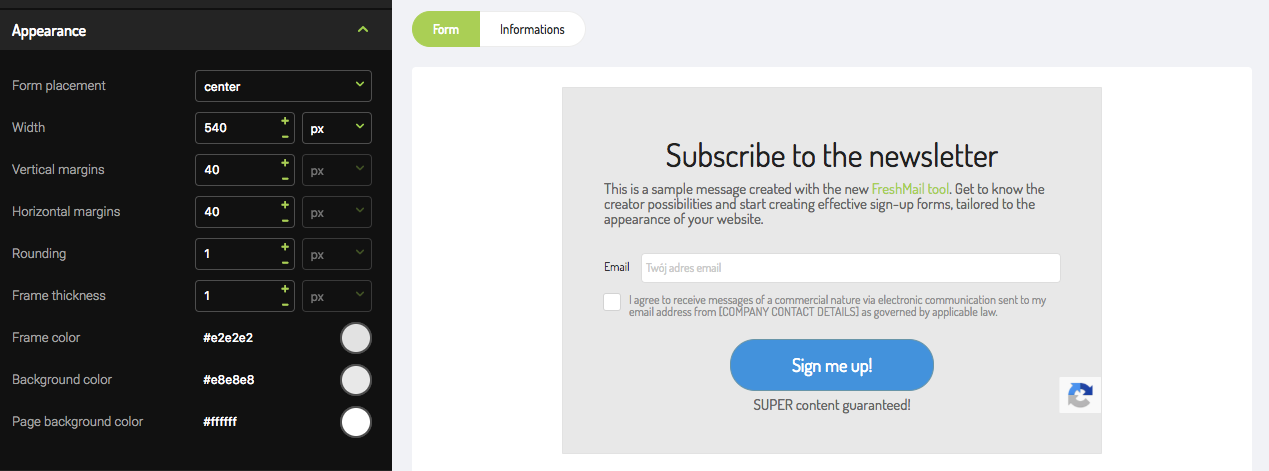
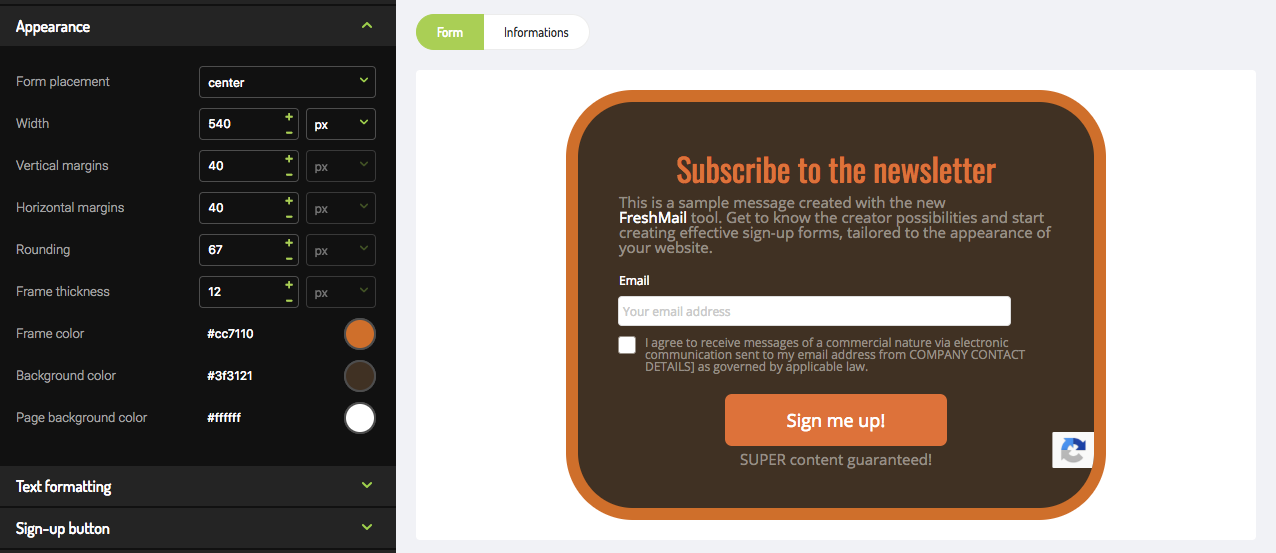
Here are two examples, the first of which is the system default and the other with changes possible in the system.
5
Chapter
Text Formatting
Chapter
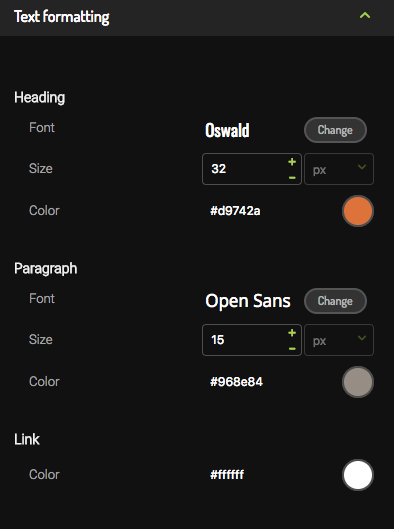
The text you use has to get attention and be easily read by visitors to your site. In Text Formatting, you will find options for changing the size, colour and fonts of the text as well as adding headers and hyperlinks.
6
Chapter
Sign-up button and consent
Chapter
Button editing
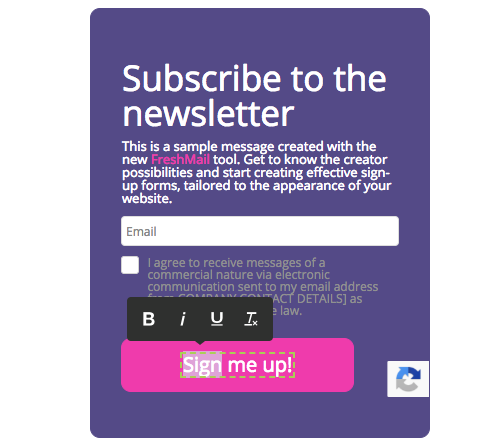
Now it’s time to edit the look and positioning of the button that, after being clicked, will add new subscribers to your database.
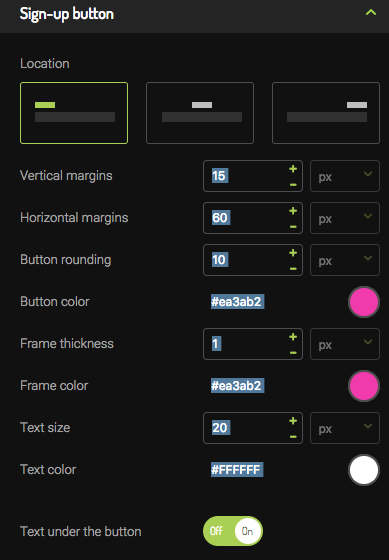
Your options for editing here are similar to those in the Style section. You can set the margins, where on the page the form will appear, select rounded edges, change the colour and thickness of the frame and the colour of the button. Also, you can customise the size and colour of the text used on the buttons—just click on it to start editing.
Consent
The last section in the Appearance tab relates to gaining consent, which is also part of the form. You can set up to five variations of the consent that you use when adding new subscribers to your database.
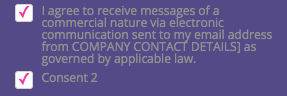
Just as with the buttons, you can edit the colour of the text, the framing, use rounded edges and adjust the font size. There is also an option to change the colour of the background behind the icon and the colour of the icon itself. You can do it editing Checkboxes in Form field tab.
7
Chapter
Messages
Chapter
Just above the view of the form, you’ll find a button that will display the message that is shown to new additions to your mailing list after completing the sign-up form.
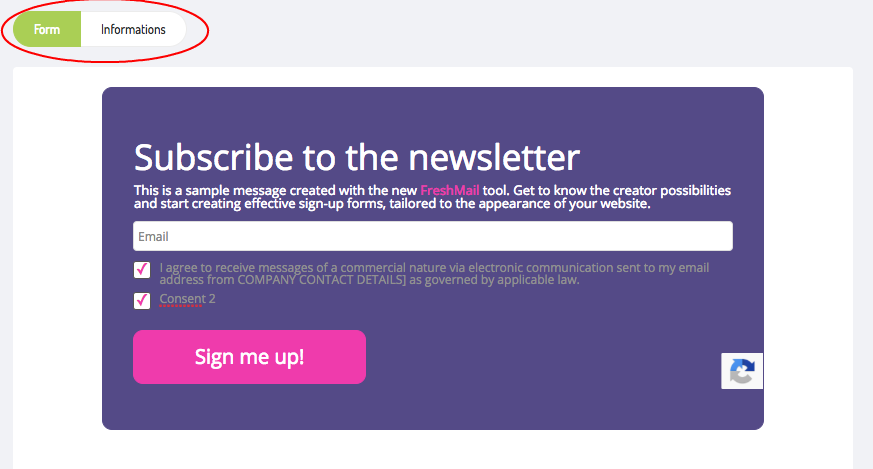
These messages are automatically adapted to match the appearance of your sign-up form:
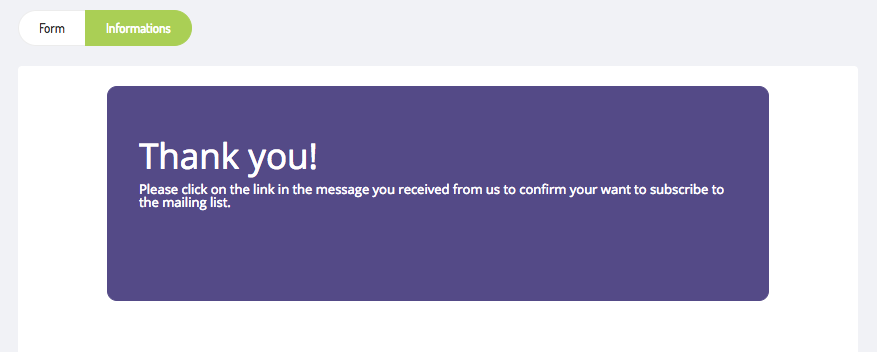
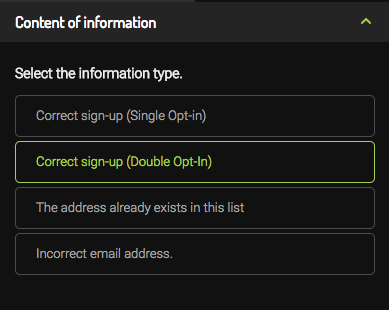
Also, in the left-hand menu, you’ll find a list with four possibilities for messages to be displayed after the final button is clicked for sign-up: Sign-up completed (Single opt-in), Sign-up completed (Double opt-in), Address already exists in database and Incorrect address.
8
Chapter
Saving the form and placing it on a web page
Chapter
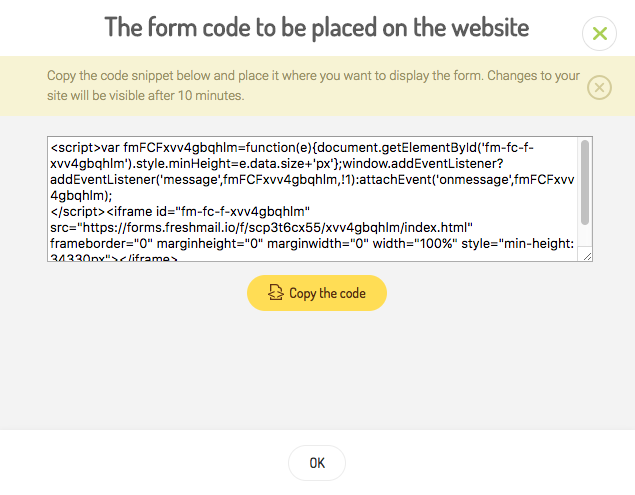
If you have made changes to the form and want to save your work, just click the Save button in the upper right-hand corner. Your sign-up form will be saved and you can return to it at any time simply by going to the appropriate subscriber list and then to Form Creator.

When you’ve finished your work and you want to place the sign-up form on a page, click Place on page. A pop-up window will appear with the code, which just has to be copied and pasted onto your internet site.