Magento 1.0-1.8
To help FreshMail and Magento work well together, there are a few simple steps to follow. It will just take a minute and is easy to do so let’s get started!
FreshMail plugin configuration
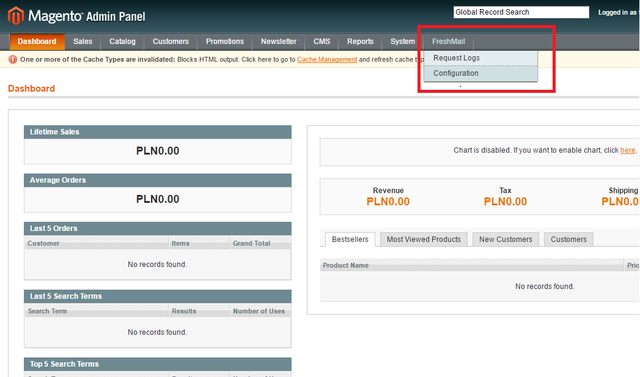
- After logging into Magento, go to the FreshMail > Configuration tab
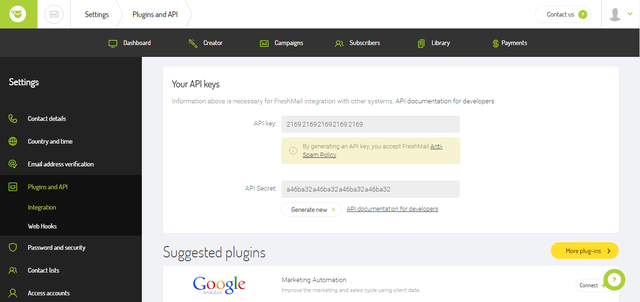
2. You will see the configuration panel that will let you connect Magento with your FreshMail account. You will need an API code that you get when you go to Settings > Plugins and API
3. Paste your API key and API Secret in the appropriate places:
4. Now you will be able to select the lists to which you want to add new subscribers. You can also create additional fields for data you want to attach to the email address:
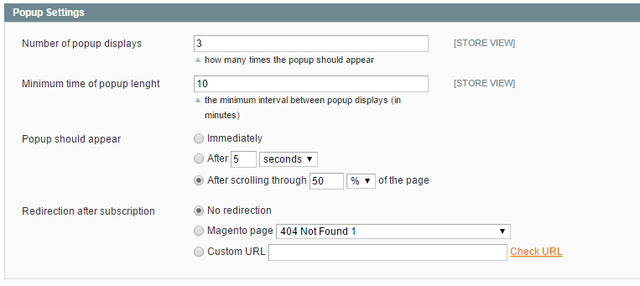
5. The next step is to arrange the settings for the pop-up - how many times you want it to appear with the sign-up form, the time interval before the next time it appears as well as the web page you want users directed to:
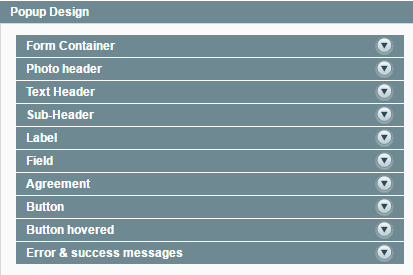
- Thanks to a very simple interface for managing pop-ups, you can customise the appearance of the window. Click the category to expand its menu and then make the changes you want:
The appearance of the pop-up and any changes you make can be seen on the right-hand side.
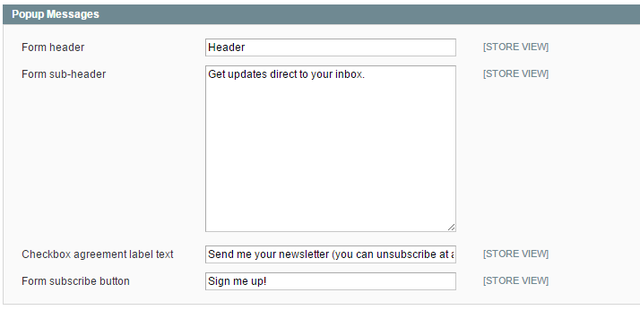
7.The next part of the process is the creation of the text that you want to appear in the pop-up:
- Remember to complete the message that appears after an unsuccessful attempt to sign-up. Try to simply and clearly state what happened. If an error occurs, subscribers must be informed about the problem in order to correct the mistake and try again:
Synchronizing newsletter subscribers with FreshMail
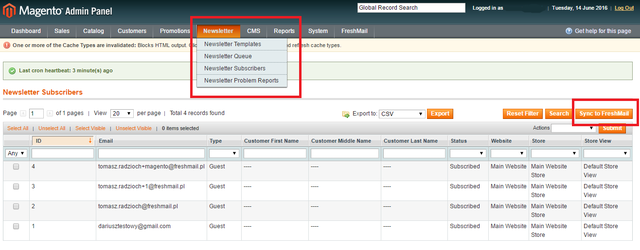
When collecting new subscribers, you can synchronise the database with FreshMail at any time by going to Newsletter > Newsletter Subscribers and selecting the Synchronise with FreshMail option as below:


