How to use the Follow-Up Autoresponder
If you want a recipient who opens a message sent by a Click AutoresponderAutoresponderAutomatyczna wiadomość wysyłana odbiorcy po kliknięciu w link aktywacyjny. Dotyczy tylko listy Double opt in z autoresponderem. or Open Autoresponder to automatically get another message, select the Follow-Up Autoresponder. Using this feature allows you to create a series of messages all triggered by subscriber actions.
Follow these steps and your Follow-Up Autoresponder will be up and running in no time!
How to activate a Follow-Up Autoresponder
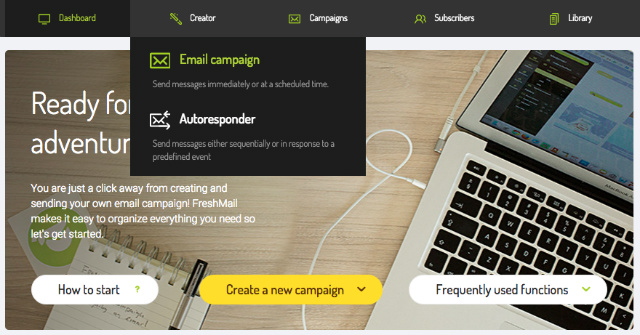
First click on the ‘Campaign creator’ tab in the main menu and select ‘Autoresponder’.
After selecting ‘Follow-Up Autoresponder' you will be asked to fill in the parameters of the autoresponder.
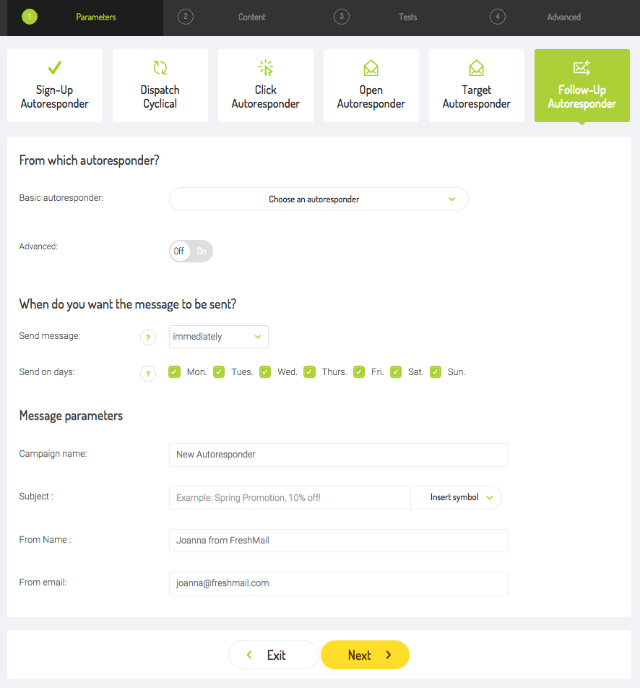
This is where you have to define which mailing list will be used.
The next option to set is the sending time. There are three variants available:
- immediately - the autoresponder will be sent immediately after sending another selected autoresponder,
- delayed - the autoresponder will be sent after a delay that you set. You can modify the number of hours/days/weeks/or even months after clicking that your recipient will get the message
- at a selected hour - if you prefer to send a message to subscribers at certain hour
You can also decide if you want your message to be sent every day of the week or only on selected days. If you unselect Saturday and Sunday, for example, and someone clicks on a link on one of those days then the autoresponder will be sent on the first day afterwards that has been selected.
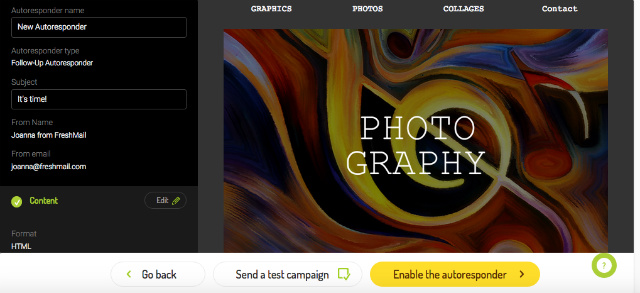
Set up the other standard parameters such as the name of the autoresponder, the subject line of the message, the address and name of the sender. Then click the ‘Next’ button.
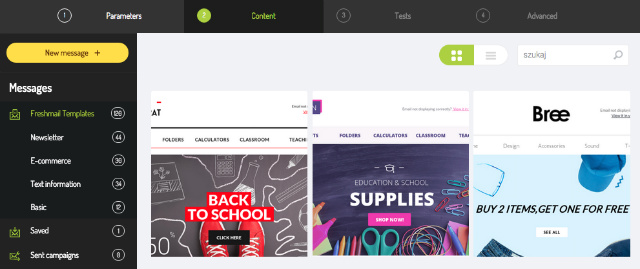
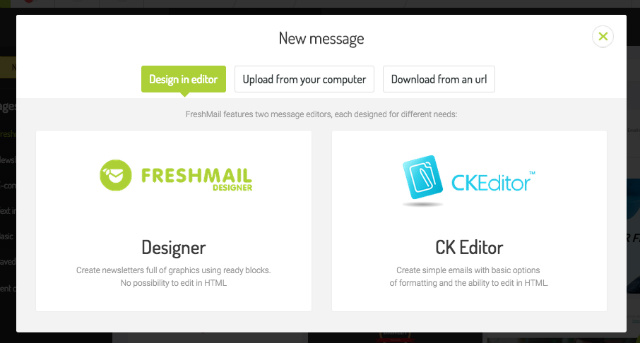
In the next step you need to choose if you want to use ready-made templates available in the FreshMail Template Library, import a template from a file or a URL address, use a template from a campaign that has already been sent or create your own message in HTMLFormat HTML + TXTWiadomość, która zawiera format HTML i TXT. Programy pocztowe, które nie będą mogły odtworzyć wiadomości w formacie HTML, wyświetlą ją w formacie TXT. Należy pamiętać, że wyświetlenie wiadomości w formacie TXT uniemożliwi zraportowanie jej w kontekście otwarć. (to do so click on the ‘New message’ button on the left hand side and then select 'CK Editor' or 'Upload from your computer'/'Download from URL').
When you’re finished editing click 'Next' and you will move to the next step, 'Tests'. Here you can check to see if a message is coded correctly and if there is a chance that it will be flagged as spamSpamNiechciana wiadomość komercyjna. Zdarza się, że odbiorcy uznają za spam każdy mailing, którego nie chcą już więcej otrzymywać, nawet jeśli wcześniej zapisali się do listy odbiorców. . You can also use an Inbox TestInbox TestSprawdza przed wysyłką czy wiadomość stworzona w Kreatorze Kampanii dobrze wyświetla się w różnych klientach pocztowych. to see how a message will be displayed in various inboxes and you can send yourself a test email.
Clicking 'Next' will take you to the 'Advanced' stage where you can set up the address to which your recipients will reply and change the advanced options (all options are analogous to a normal campaign). After clicking 'Next' again you will be in 'Summary' where you will be able to click on 'Enable the autoresponder'.
What to do after the autoresponder is activated
After accepting the autoresponder you will be directed to another page where you can manage all the autoresponders. You can enable and disable them by clicking on the 'Activity' button and you can also group the autoresponders in separate folders.
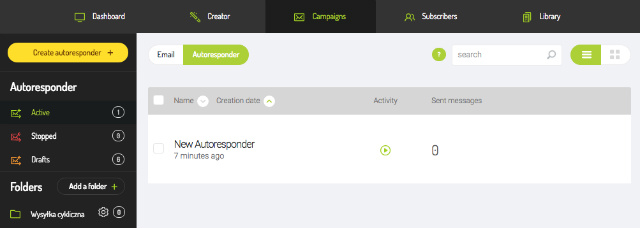
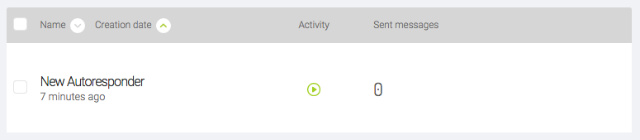
When you confirm the setup of the autoresponder, it is active and marked with a green button:
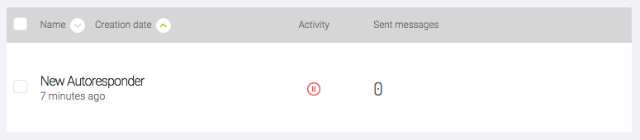
You can suspend the autoresponder at any time. To do so, just click on the ‘Activity’ button and then it will change to a red ‘pause’ icon. This means that the autoresponder has been stopped.
Mousing over the name of the autoresponder will give you a few useful options under the icons on the right hand side:
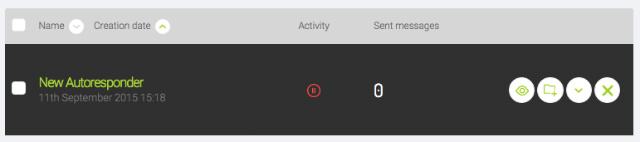
Starting from the icons from the left:
- The ‘eye’ icon lets you preview the message. This allows you to check if all the parameters of a campaign are set up correctly.
- You can also group your autoresponders and create folders for them. To add an autoresponder into a certain folder, click the ‘folder’ icon and place the selected autoresponder wherever you want.
- The next function lets you edit and duplicate an autoresponder. Click on the ‘arrow’ icon and select one of these options:
- Clicking on the ‘Edit’ button transfers you to the editing stage, where you are able to change selected elements.
- Clicking on the ‘Duplicate’ button copies the selected autoresponder. Thanks to this option you are able to use the duplicate for a new campaign without needing to start over and create it again.
- The last function with the ‘cross’ icon lets you delete a selected autoresponder. Of course the campaign will be stopped and the autoresponder will be disabled.
That’s everything you need to know in order to start letting autoresponders do more for you and deliver results!