 Renata Gajoch-Bielecka
created
edited
How to slice images and graphics in your newsletter
Back to list of articlesWhy do you need to slice images?
Because smaller images can increase the delivery rate of your messages
A common challenge for any marketer is creating effective campaigns that don't get tagged as spam. To make this easier FreshMail provides special Antispam Tests that give you the chance to scan your newsletters to ensure that they are spam-free. Checking graphics in the mail is part of this analysis.
Using an image that is too large or out of proportion to the amount of text in a message is a common problem during the campaign creation stage. The solution is to cut, or "slice", the graphics into smaller pieces or add some more text to even out the balance.
Are you images too big?
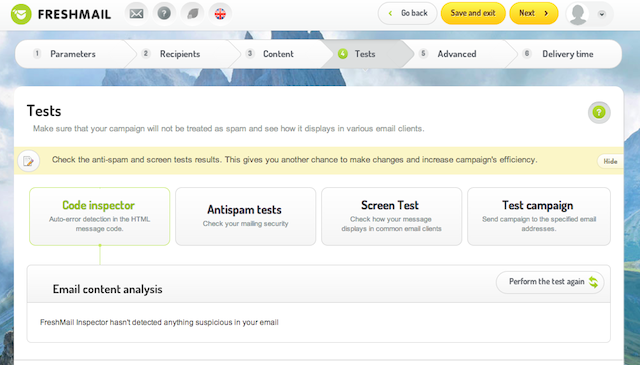
Before your message gets to a recipient’s inbox, anti-spam filters analyze its content and decide whether it goes to the spam folder or not. If you insert images that are too large in your newsletter, you risk your message being identified as spam and all emails that you send can be blocked by email services. The first warning you will get about the size of your images will be the notifications generated by Code Inspector which you will find in the fourth step of campaign creation.

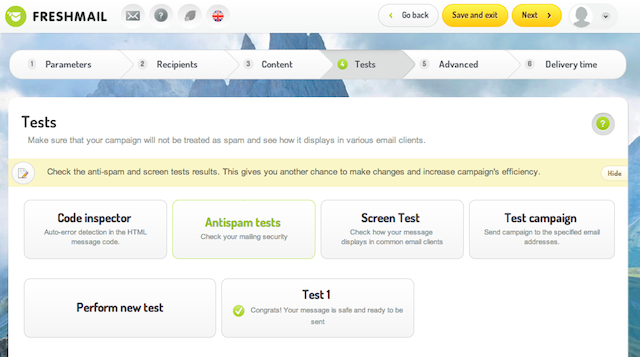
The second step of campaign verification in FreshMail is the antispam testing done with SpamAssassin.

If your message gets less than 5 points in the SpamAssassin test, it means that the message won’t be classified as spam. If this is the case, then there is no need to cut the images in the message. On the other hand, if the message is tagged as spam because of the size of the images it contains, slicing them can help the message avoid being routed to the spam folder.
How to slice images
To display an image correctly, first you need to cut it, and then arrange the pieces together in HTML code. To make this task easy use the browser based Online Image Splitter tool,which cuts images and generates special HTML code.
Here's how to do it:
1. Go to http://www.htmlkit.com/services/is.
2. Click on the Select button right next to the Source Image text and select the image you want to cut ( *.gif, *.jpg, *.png).
3. Press the Start button.

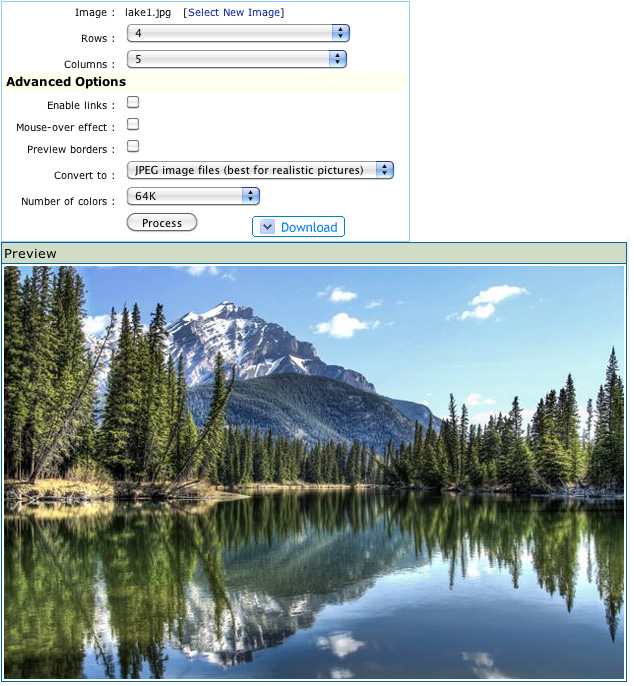
4. Define the number of rows and columns into which your image should be cut (maximum 8x8). Considering other parameters I suggest setting them as shown below.

5. Click on the Process button.
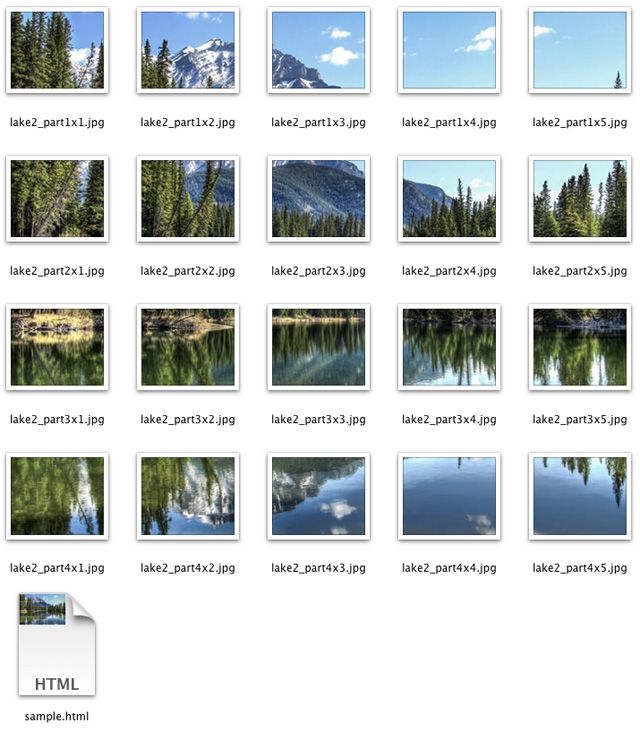
6. When the whole image appears on the screen click on the Download button. Now you can save the cut image and a file with HTML code linking the cut parts together.


